Resources

Knowledge base

Highlighting all editable fields

In order to see all editable areas in the editor, follow these steps:

  1. Navigate to Produce, which will take you to the Produce front page, also called the launcher
  2. Click on a template or edit an existing document, and the editor will open
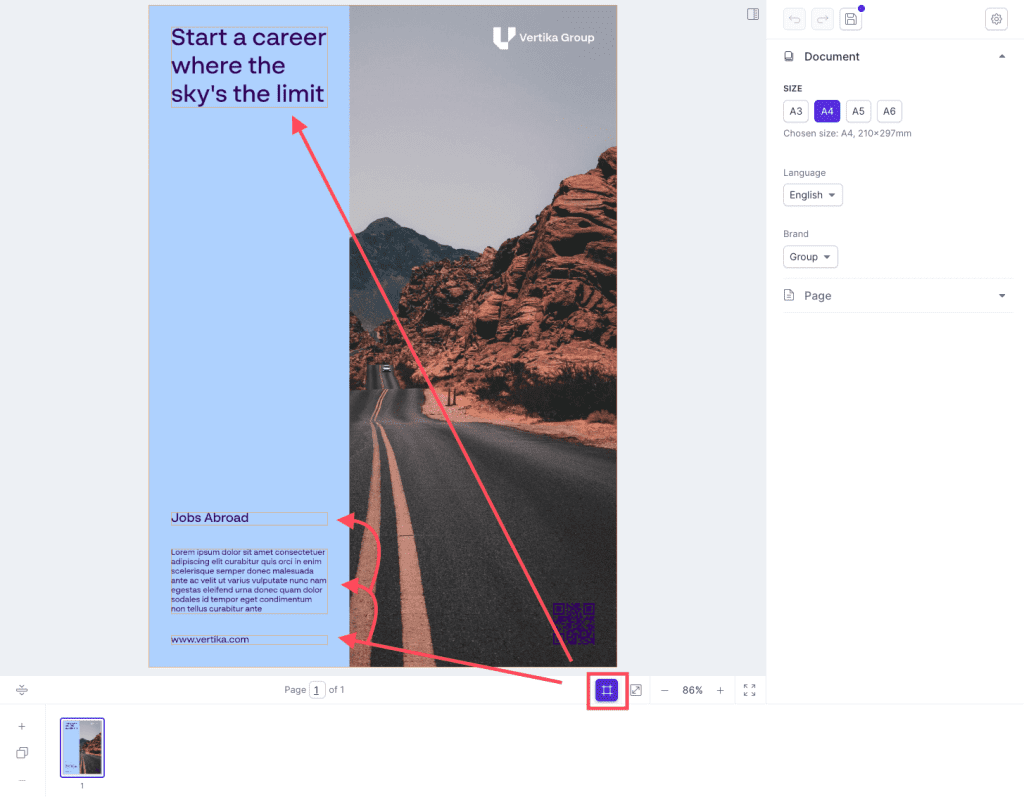
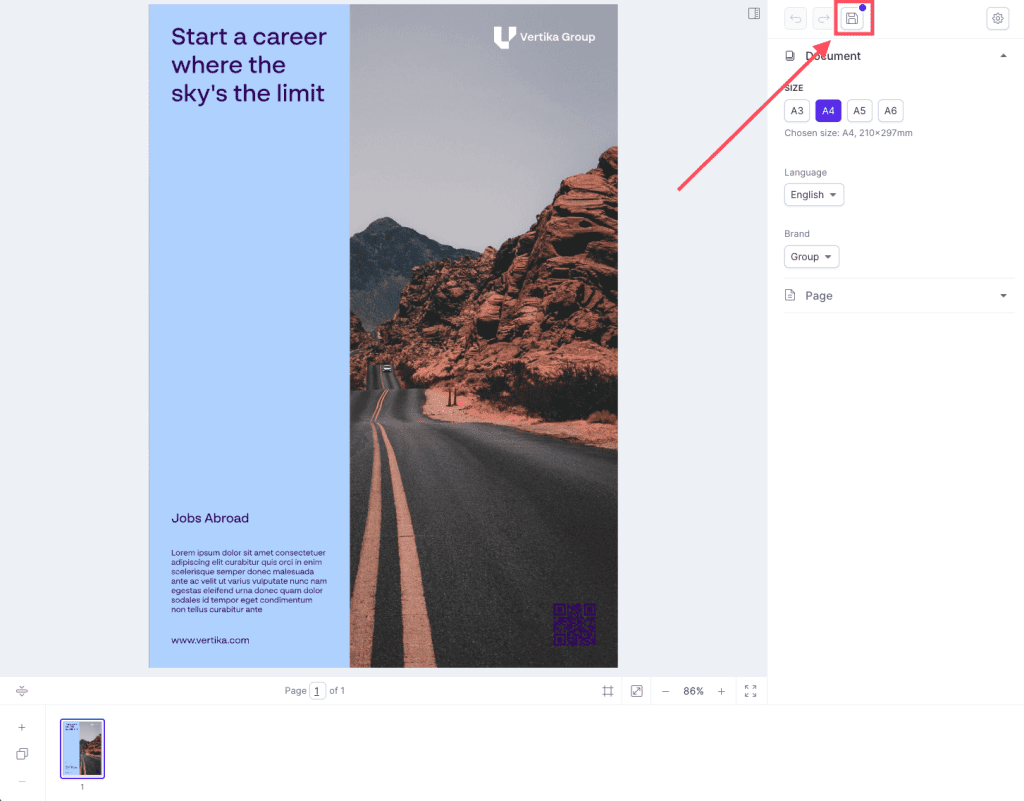
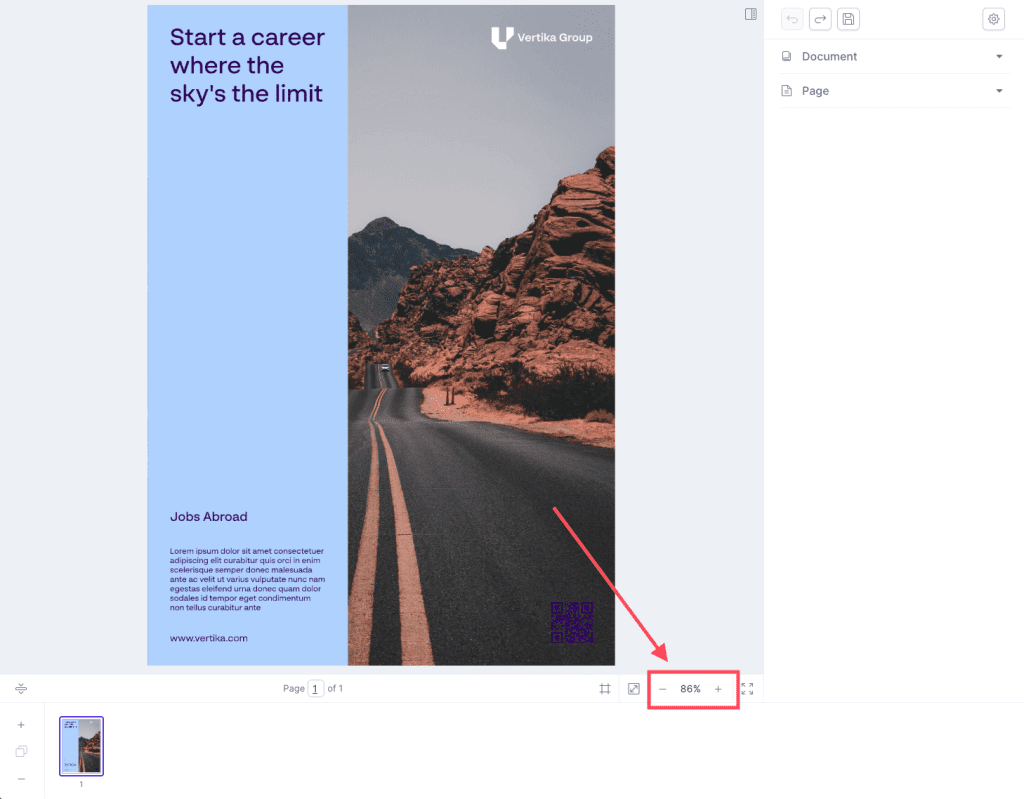
  3. Next to the zoom in/out button there is a grid icon
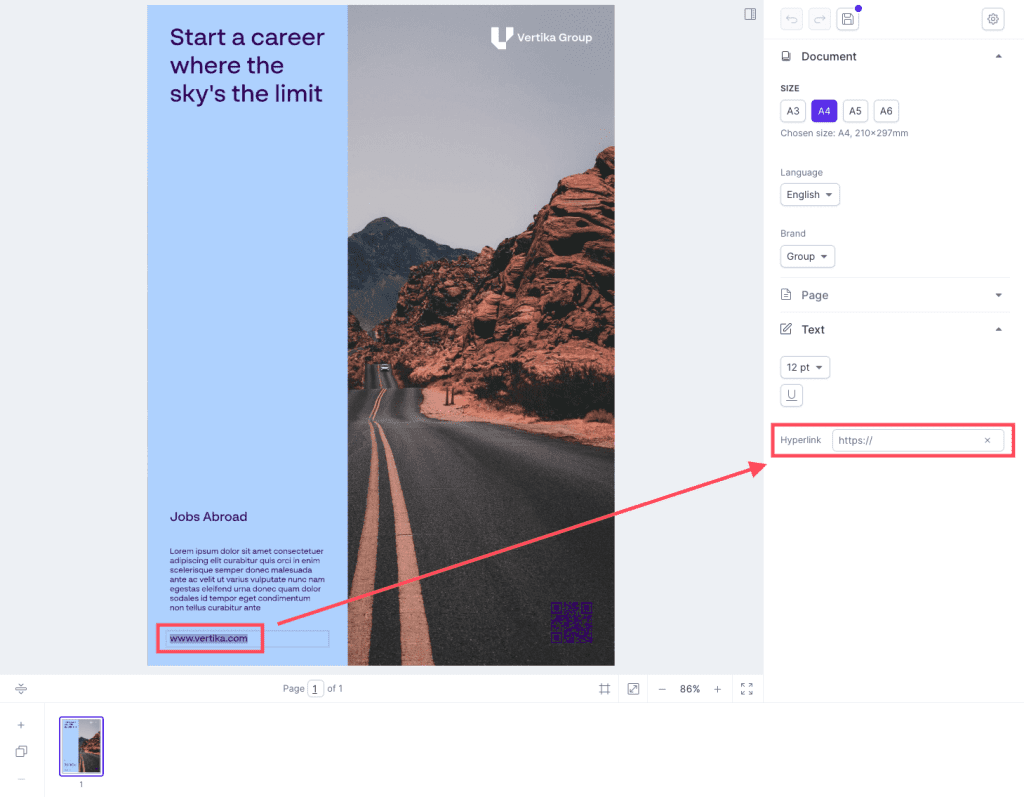
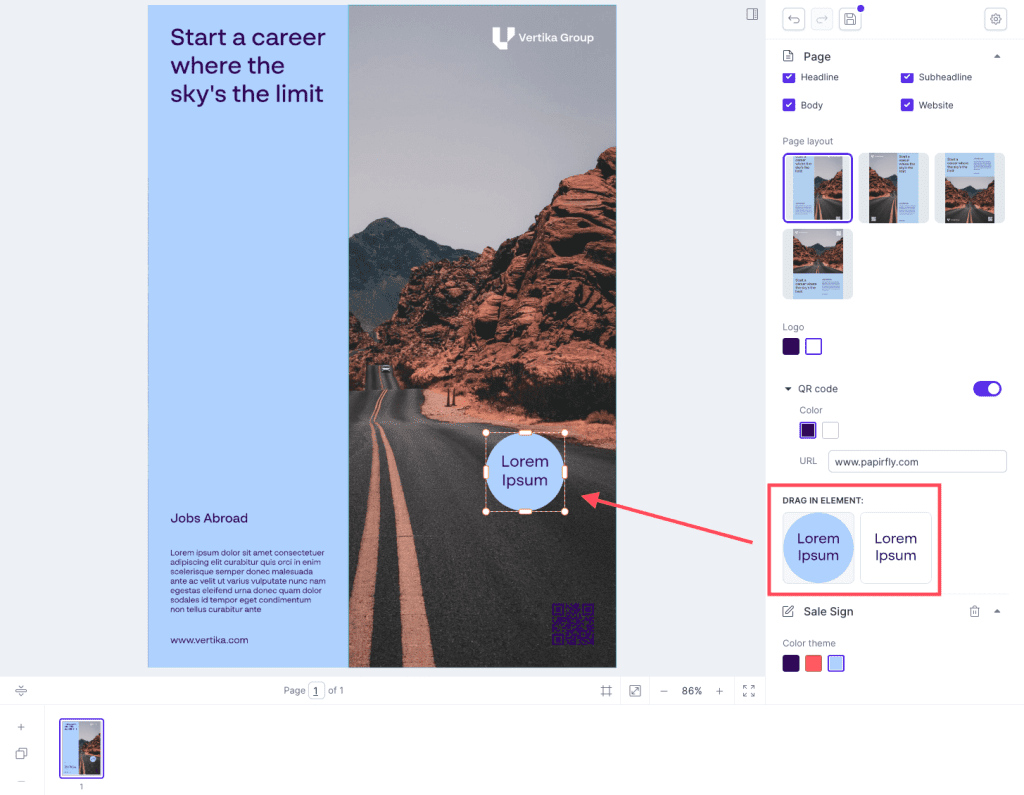
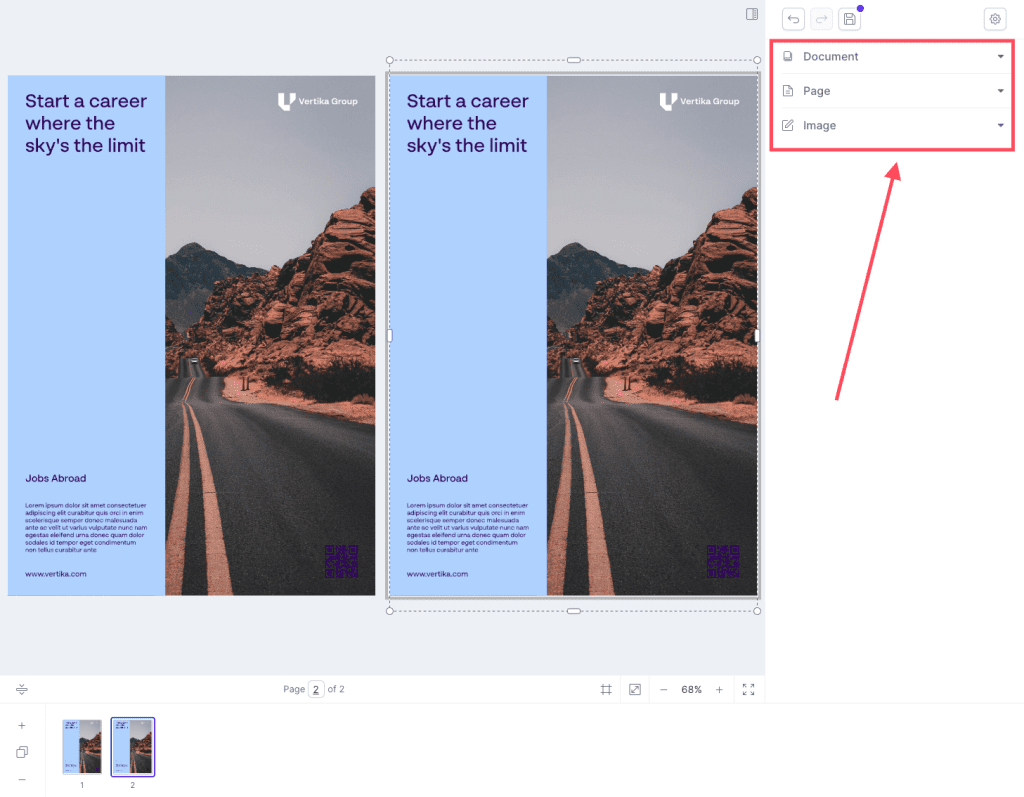
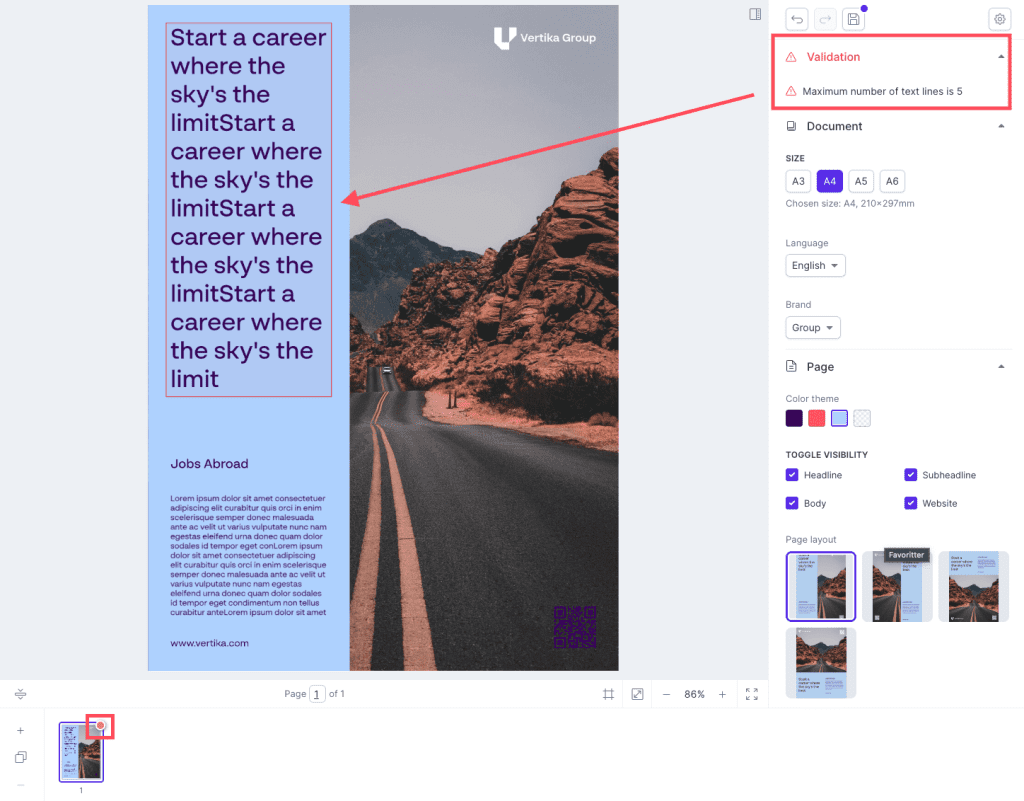
  4. Clicking on the grid icon highlights all the areas within the editor that can be edited
  5. See all marked fields in the screenshot below. These fields can be edited by you.

Resources

Knowledge base

Rearrange the pages

In order to reorder pages in the editor, follow these steps:

  1. Navigate to Produce, which will take you to the Produce front page, also called the launcher
  2. Click on a template or edit an existing document, and the editor will open
  3. In the bottom area of the editor you should be able to see all the pages of the document that are currently within the document you are working on.
  4. To rearrange the order of the pages, click-and-drag the page you would like to move to the position in the document you would like it to be in
  5. As soon as you save and close the editor it will generate a new document with the desired page order

Resources

Knowledge base

Add hyperlink to text

In order to add hyperlink to text in the editor, follow these steps:

  1. Navigate to Produce, which will take you to the Produce front page, also called the launcher
  2. Click on a template or edit an existing document, and the editor will open
  3. In the editor, mark the text you want to. Click on the hyperlink icon in the right hand sidebar, type in the URL and then press save
  4. The URL is now active
  5. Save the document and the final output will now have a clickable link

Resources

Knowledge base

Scaling images in the editor

In order to change to grid creatives view, follow these steps:

  1. Navigate to Produce, which will take you to the Produce front page, also called the launcher
  2. Click on a template or edit an existing document, and the editor will open
  3. Add an image or find an existing image that you would like to scale in the document
  4. Click on the image and you will see a scale bar in the menu on the right hand side.
  5. The scaling option allows you to drag the bar from left to right to decide the scale/zoom/size of the image.
  • Quick tip: You can also scale the image by click-and-dragging the corners of the image

Resources

Knowledge base

Editor elements

The papirfly editor offers many different elements that will allow you to create material to your liking. However, the elements available inside the editor has all been pre-decided. In other words, some editors might offer many elements for you to choose from, whereas others might have few depending on what has been decided to be included.

The most typical elements are the following:

  • Image: allows you to add an image into the document. The image can be rotated and scaled after it has been added
  • Graphic: Similar to the image element, however, this element is more suited for graphic elements such as logos or other branding shapes
  • Textbox: Single box that lets you add additional text into the document

There are more elements available, but they are often built in top of the elements listed above and given a new name. The functionality is more or less still the same.

Resources

Knowledge base

Adding elements

In order to use the Undo/Redo in the editor, follow these steps:

  1. Navigate to Produce, which will take you to the Produce front page, also called the launcher
  2. Click on a template or edit an existing document, and the editor will open
  3. In the editor you have page and document on the right side
  4. If you click on the page options on the right hand side of the editor, you will get access to the elements that have been made available in this specific template. If none has been made available, you will not see any elements.
  5. Simply click and drag the desired element into the editing field and click-and-drag the element to your desired place

To learn more about the different elements available, click here.

Resources

Knowledge base

Undo/Redo changes in editor

In order to use the Undo/Redo in the editor, follow these steps:

  1. Navigate to Produce, which will take you to the Produce front page, also called the launcher
  2. Click on a template or edit an existing document, and the editor will open
  3. Edit or make your changes in the editor
  4. To use the undo/redo function in  the template, click on the undo icon in the top right corner next to the ‘floppydisk’ icon. This will undo your last edits in the document.
  5. You can also redo changes by clicking on the arrow pointing the opposite direction
  6. You can do both actions more than once to undo/redo multiple steps/actions

Resources

Knowledge base

Document, page & image

Here is an explanation to each section in the right hand sidebar

  • Document: Similar to page, but the difference is that the options within document affects all of the pages within the editor
  • Page: Similar to document, but the difference is that the options within page only affects the page you are currently working on
  • Image: In order to see this section, you first need to click on an image inside the editor. Image gives you access to options for the image that you have clicked on, such as scale or rotate

Resources

Knowledge base

Sections in the right hand sidebar

In order to use the functions and options in the editor, follow these steps:

  1. Navigate to Produce, which will take you to the Produce front page, also called the launcher
  2. Click on a template or edit an existing document, and the editor will open
  3. In the new window you will have four sections on the right side of the editor. Tester, document, page and image are the different choices. Some of the options such as tester will only appear if you have the correct access rights.
  4. Depending on the section you click on, you will have different options and functionality. Also, there are other sections as well, but these normally only appear if you have additional integrations added to Produce

Click here to read more about the difference between the sections.

Resources

Knowledge base

Saving your work/changes

In order to save your work inside the editor, follow these steps:

  1. Navigate to Produce, which will take you to the Produce front page, also called the launcher
  2. Click on a template or edit an existing document, and the editor will open
  3. Finish editing or make your changes
  4. To save the template, click the floppydisk icon in the top right corner
  5. You will then get a new pop-up window with save document 
  6. Name the document and then either press save to continue working on the document or press save and close to save and close the editor

Resources

Knowledge base

Zooming in inside the editor

In order to zoom in the editor, follow these steps:

  1. Navigate to Produce, which will take you to the Produce front page, also called the launcher
  2. Click on a template or edit an existing document, and the editor will open
  3. In-between the page selector on the button and the page you are working on there is a – x% + field. Click on the – or + symbol to either zoom out or in
  4. + zooms in and – zooms out

Resources

Knowledge base

Adding new pages in the editor

In order to add a new page in the editor, follow these steps:

  1. Navigate to Produce, which will take you to the Produce front page, also called the launcher
  2. Click on a template or edit an existing document, and the editor will open
  3. On the bottom left corner you will see a add / remove button
  4. When you press the Add button the choices of different pages will be available.
  5. Click on the page you want to add. 
  6. The page will now be added in the editor

Resources

Knowledge base

Document errors/warnings

In order to see and remove errors/warnings in a created document, follow these steps:

  1. Navigate to Produce, which will take you to the Produce front page, also called the launcher
  2. Locate the document in the list of documents
  3. If there is an error/warning in the document you should be able to see an orange exclamation mark next to the thumbnail of the document
  4. This symbolises that you should open the document in edit mode and rectify the error/warning. If it is an error you need to correct the issue in order to get the final output to generate.
Error shown in the launcher:
Error shown in the editor:
You can read more about warnings and errors here: