Changing/fixing material that requires to be changed
Please note that changing/fixing material under approval projects can only be done by a user with initiator user rights.
Changing/fixing material that requires to be changed is split into Creative material and Place (assets) material.
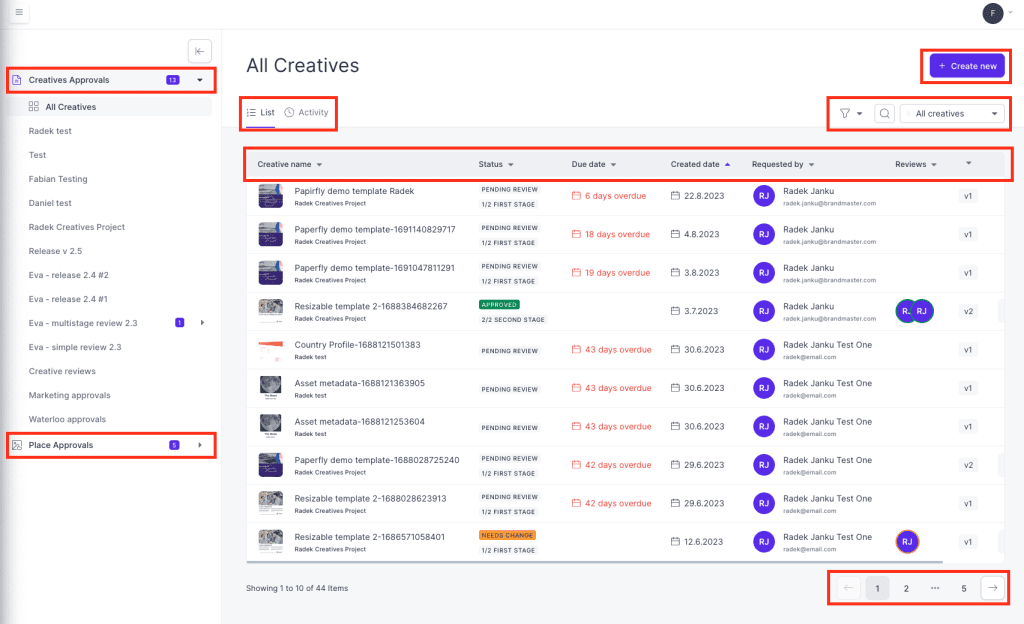
Creative material:
- In the email warning, there is a link you can click on that will take you directly to the material that needs to be changed. Click on this link.
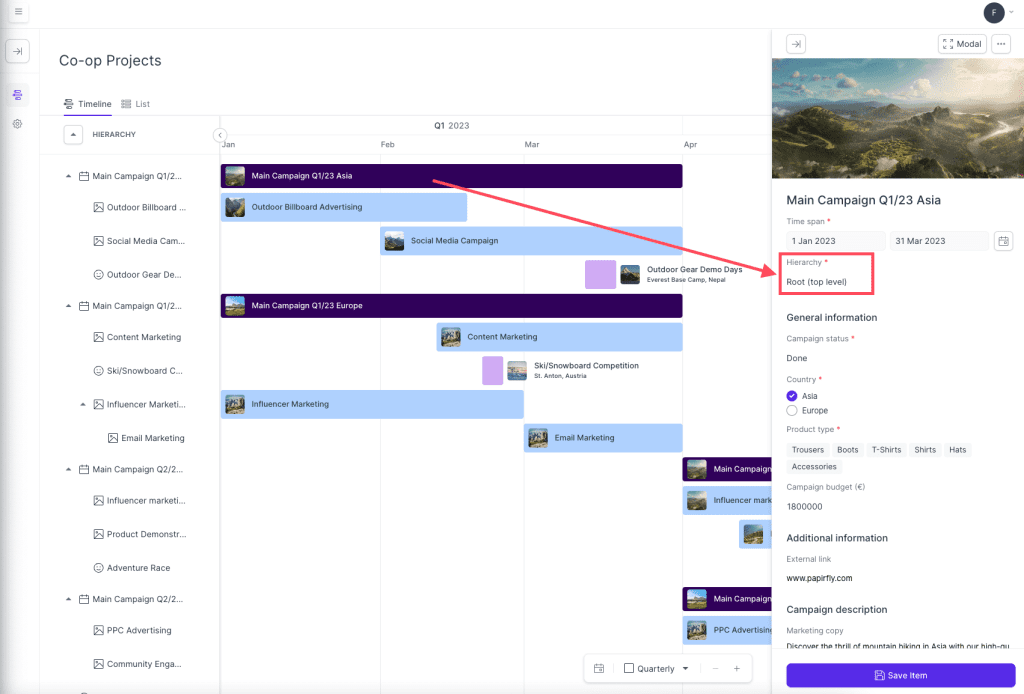
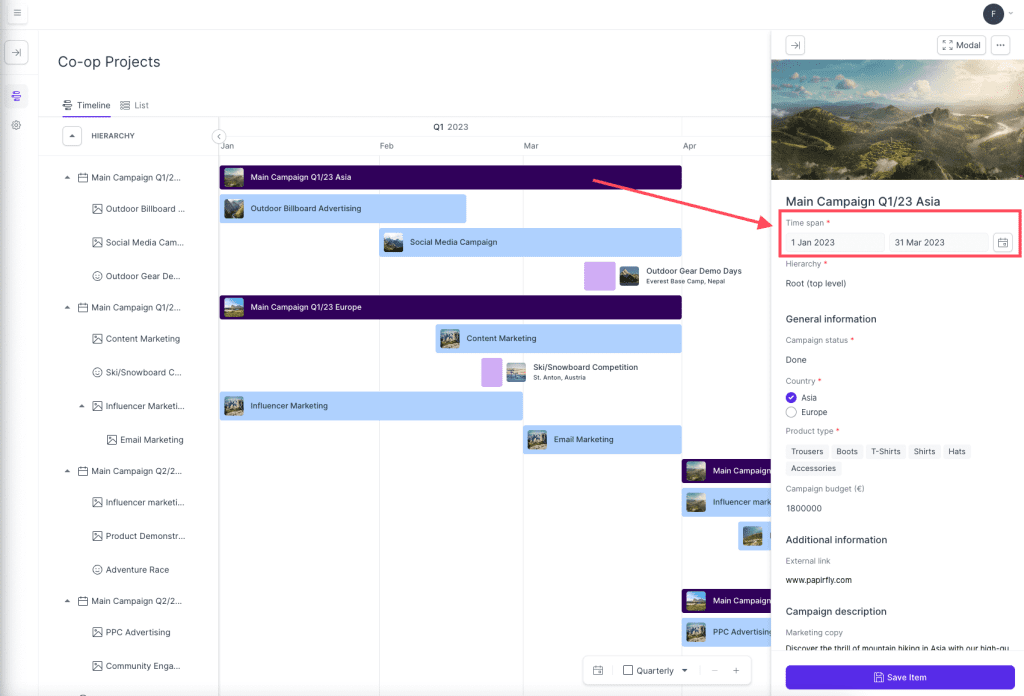
- When you are viewing the creative material, have a look at the right hand sidebar and the comment that has been made for the change that needs to be done
- Then, open the editor and make a new version of the creative material with the requested changes made by the reviewer. The reviewer/s will be notified that the material has been changed/fixed.
- The material will be approved when there are no more errors that needs to be changed
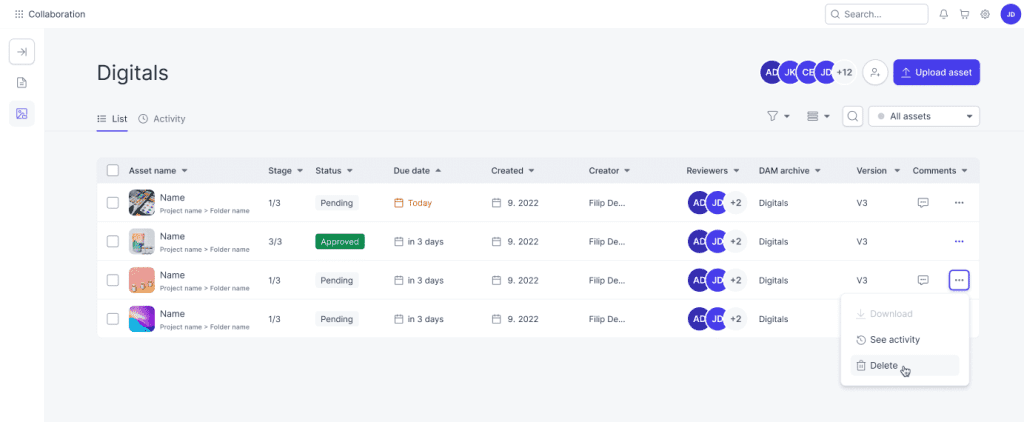
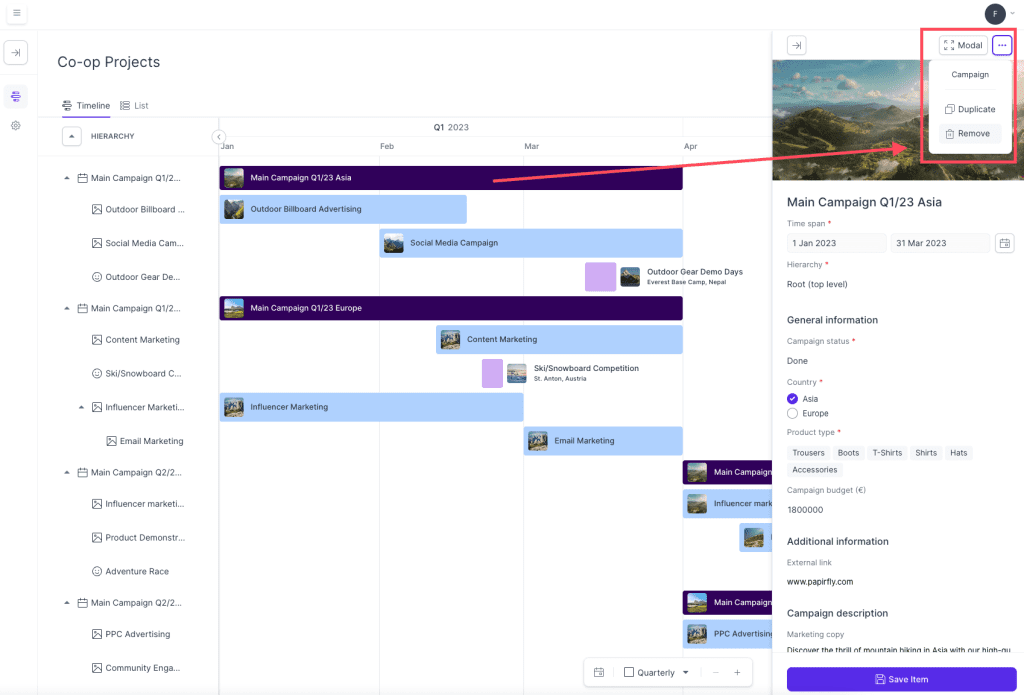
Place (assets) material:
If your material needs to be changed you will receive an email to inform you. Follow these steps to amend the changes:
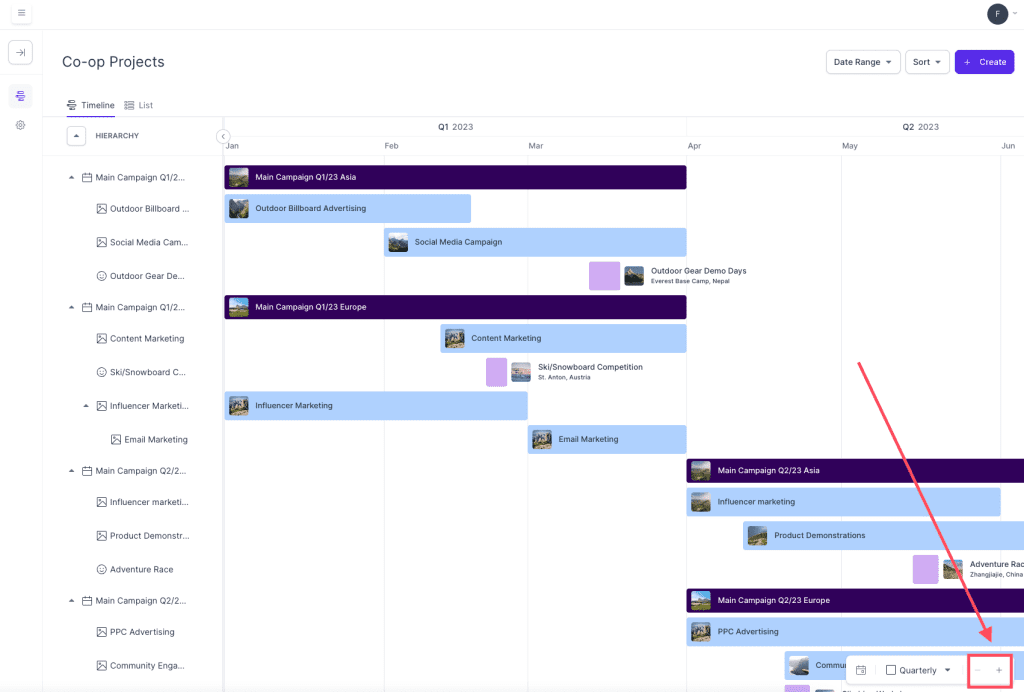
- In the email warning, there is a link you can click on that will take you directly to the material that needs to be changed. Click on this link.
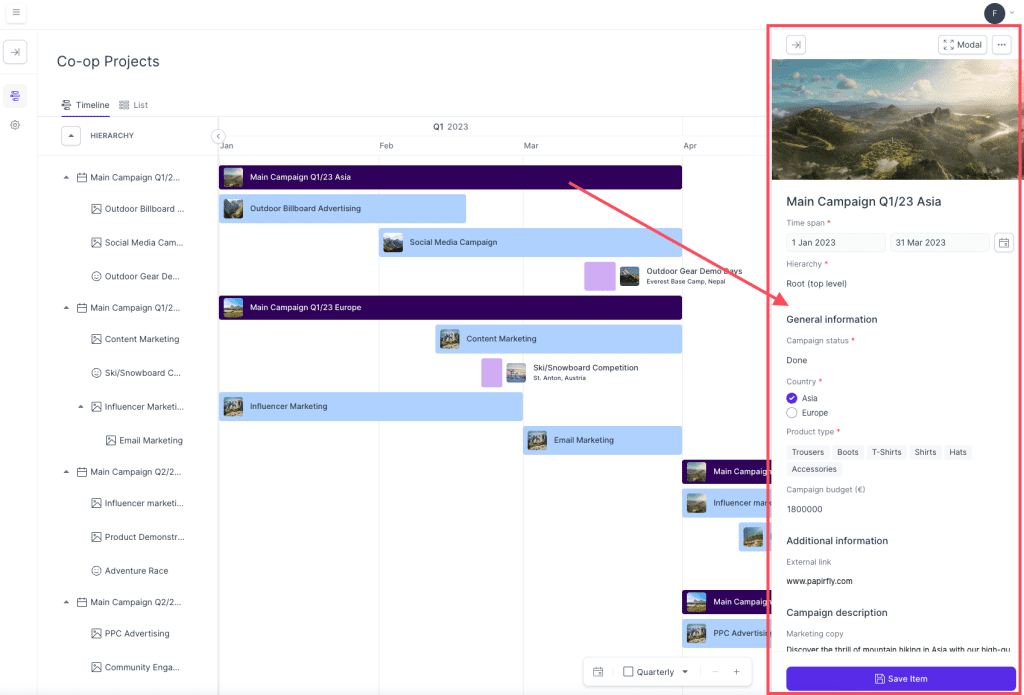
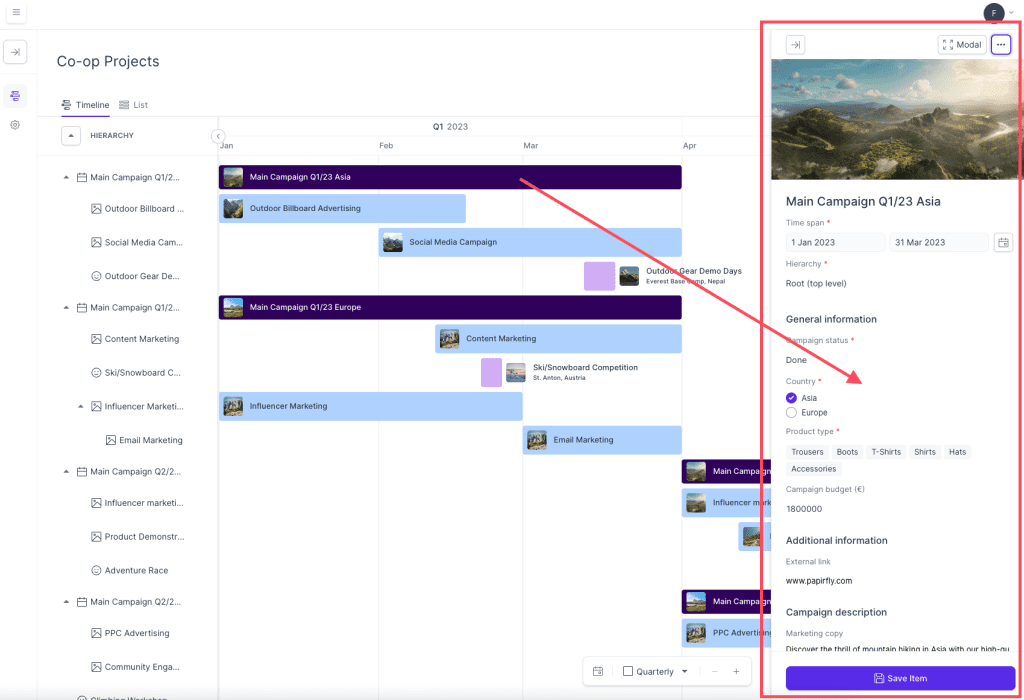
- When you are viewing the material, have a look at the right hand sidebar and the comment that has been made for the change that needs to be done
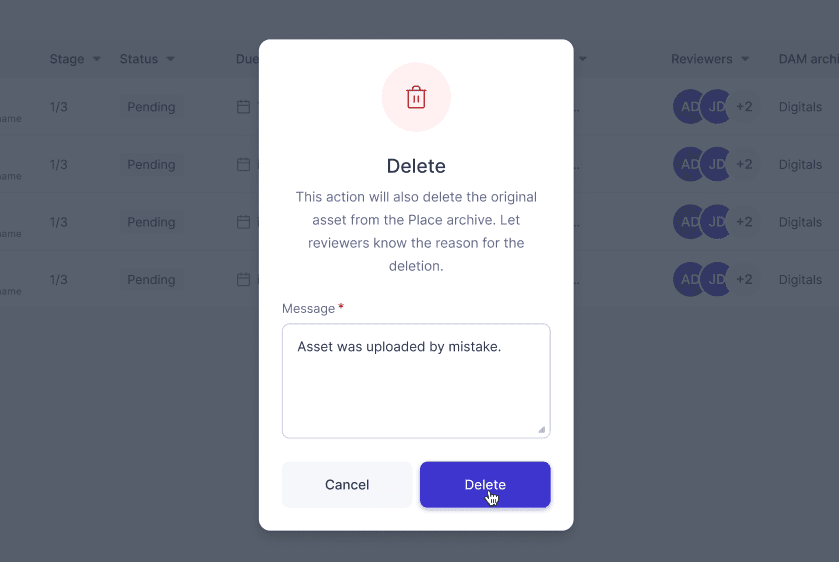
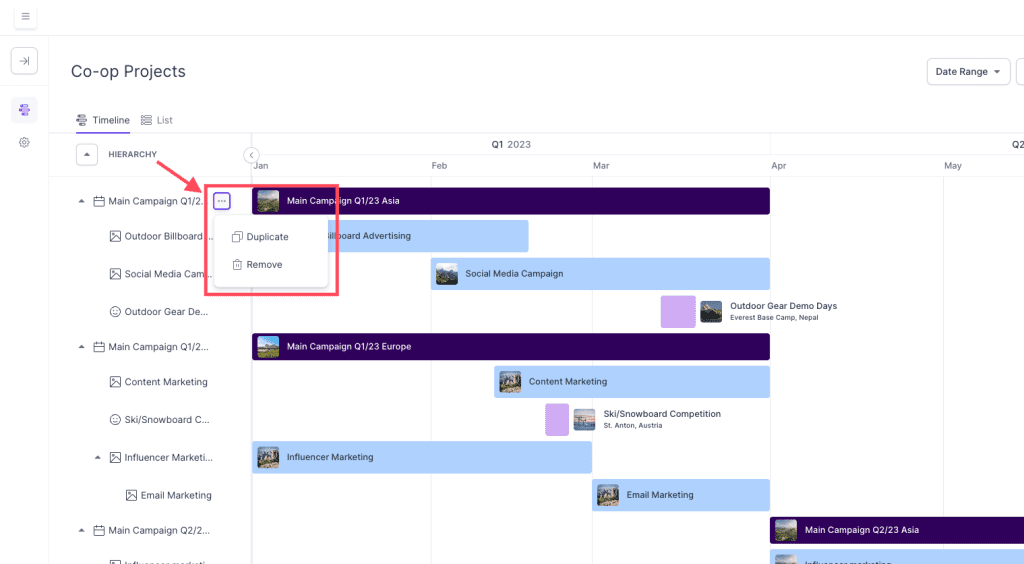
- In the top panel, click on the button called ‘upload new version’.
- Upload the material with the requested changes and the reviewer/s will be notified that the material has been changed/fixed.
- The material will be approved when there are no more errors that needs to be changed