Resources
Knowledge base
Changing the settings for the list view
In order to adjust the settings in the list view in co-op projects, follow these steps
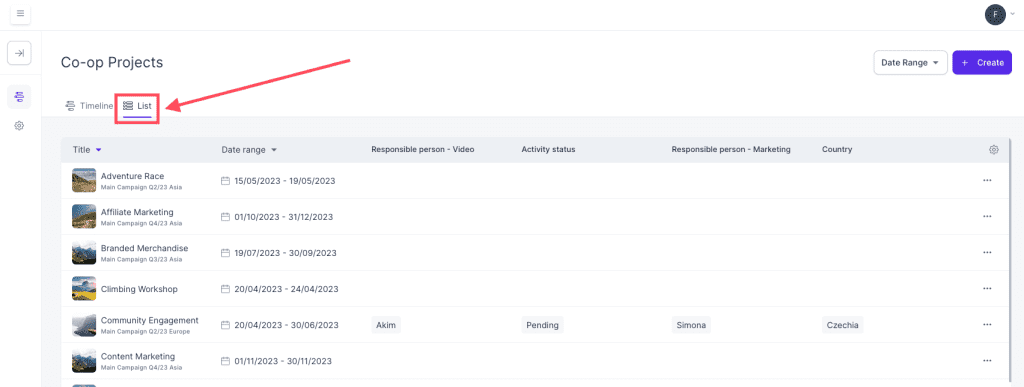
- Navigate to the Co-op projects overview
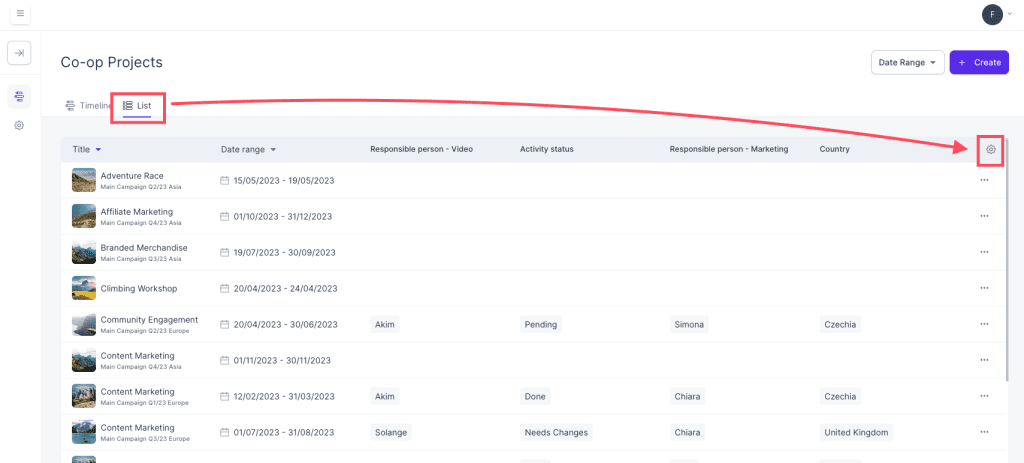
- Ensure you have activated list view by clicking on the button in the upper left corner in the overview
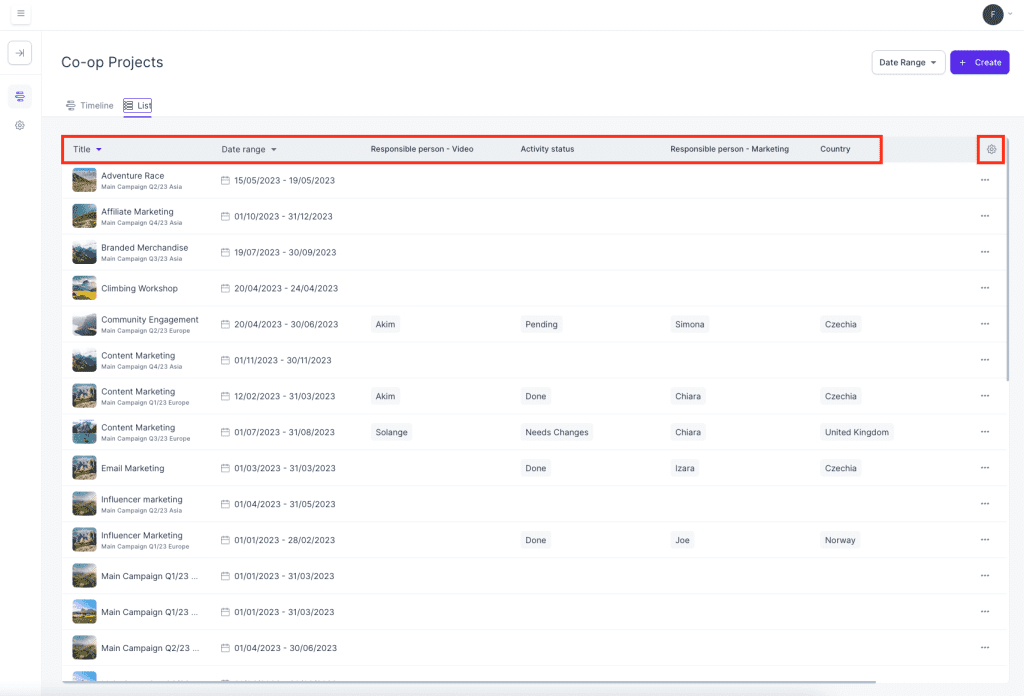
- Click on the cogwheel button to the far right on the overview field (located on the sorting line above all the co-op projects), and a new window will open
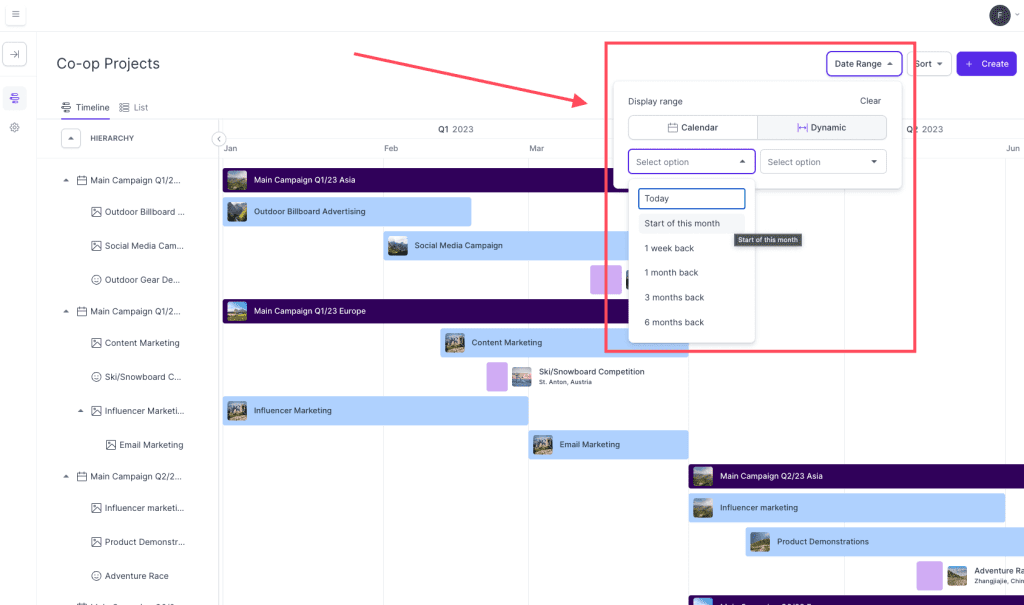
- In this window you can add different sorting and filtering criteria based on your needs. At the very bottom of the window you can add the order of the tabs in the overview window.
- As soon as you are done adding your desired criteria, click on apply at the bottom right to save and apply the changes to you list overview
- You have now made changes to the list view